Monday, 14 January 2019

Productivity tips!

Happy New Year everyone!! I like to start the new year off with good intentions so here are my top 5 productivity tips:

1. Use the time blocking method...
Print out a daily schedule and fill in the gaps with fixed commitments you have. Here's an example. You can then see what time you have to really dedicate yourself to your business or a side line business. Make you sure you allow time for exercise! (see tip 5)


2. Turn off distractions
Ok this is the obvious one... we probably all work with our phones right next to us looking down every time we get a notification. Try putting your phone out of sight for an hour or two and really focus on the job at hand. Close your email for hour too!

3. Stay on top of your accounts and money
Try not to leave it all until the last minute when the tax return is due. Keeping on top of it through-out the year will make you less stressed and more in control. Set aside a morning a month to focus on your accounts. 

4. Get out!
You might think to be productive you need to bury your head in your work and never see the light of day. Not true, get out, network, go to a show, do things you love and meet like minded people. Maybe you'll meet someone you can collaborate with. It's important to keep your creative spark alight so getting out and about will in the end help you be more productive. 

5. Exercise
You don't need to be running marathons but try to make time for exercise that works for you. Don't like to run, don't run. Love yoga, do yoga... Whilst it's great for fitness it's also good for the mind and healthy minds will lead to better work, probably done quicker as well! 

My Skillshare class The Freelancing Guide: How to Organise your Life and Work is currently being offered as part of a much bigger bundle of classes on Productivity, mindset and goal setting. The stack is called Your Best Year Yet. Please do check out everything that is included and there's a massive 97% off the total price of these classes - but the offer runs out tomorrow. There's also a 60 day money back guarantee. Take a look at everything included here - it's huge!

Thursday, 7 May 2015

Branding your Creative Business


Oooooo I'm so excited! My new course is now live on Skillshare. I've been working on this course for a few months and hope it will help all those people who find the branding of their businesses a little tricky. My main inspiration for this course was meeting a load of talented surface pattern designers and many of them found the branding of their business their biggest hurdle to get started. Even as a graphic designer myself, branding yourself is one of the hardest jobs due to how personal it is.

This course will break down all the steps to creating a perfect brand. In part 1 of this course - Define your brand - we will look at:
Defining your business
Your perfect customer or client
Your brand questionnaire
Your brand name
Your brand mission statement
And writing a design brief for your logo design

Part 2 will be all about Designing your logo and part 3 will cover releasing your brand to the world! more details coming soon.

Hope you can join me on the first part! check out more details here: http://skl.sh/1EcVwaZ

Friday, 24 April 2015

100 days of hand lettering

I'm always one for starting new challenges! Advent challenge has been loads of fun but last Christmas I couldn't keep up so when I embarked on #the100dayproject I thought 'this will be a miracle to keep this up!' So I decided to keep it simple and focused on an area I really wanted to get better at...
#100daysofhandlettering seemed like a good plan as I could be as intricate or as simple and quick as I wanted each day, depending on my time.


I kicked off on a lovely sunny day so felt I wanted to reflect that in Day 001!!


Day 002 things got a little more detailed! This took a few hours whilst I watched a film ;) 


And then around day 9-10 I signed up to an app called Steller where I could start recording all the days in a flip book...
A few days later it was picked up for their Stellerverse Collection and appeared on their front page! 

This was just what I needed... I'm feeling really inspired now to get to 100! I can already feel my skills and confidence improving...


I'm using Tombow and Micron pens, sometimes using a guide pencil... And just started using a paint brush too... Next up I really need to master calligraphy!


Thursday, 12 March 2015

Branding your creative business - new course!

Oooooo, I'm pretty excited... I'm in the process of creating a new online course all about Branding your Creative Business - really aimed at everyone running a business in a creative field who might need a little help with their branding... This course will be launched on Skillshare in the next few months. 
I hope you can join me soon!


Friday, 19 December 2014

Advent Challenge 2014 Showcase

I've been so blown away with everyone's responses to Advent Challenge 2014, I just had to do a post showcasing some of the amazing talent taking part...


For the last few years I've run an Advent Challenge, starting with Advent Doodle in 2012. This year I wanted to go bigger and better suggesting anyone could enter from artists, musicians, poets, dancers and film makers... To be fair, it's mostly been artists - but the level of artistry and creativity is pretty astounding. 


Here's a selection of some awesome people taking part and their work... Sit back, put on the Christmas music and enjoy this feast for your eyes!


I love Mary's (aka Groovity) bright folky style - check out more of her work here. I also need to thank Mary for asking me to do another challenge this year!


Rebecca Stoner's illustrations are just lovely, love the colour palette too!


I love seeing what Meg (May I Design) comes up with each day - her embroidery is amazing!


Melissa Iwai is an illustrator and children's book author. I'm so in love with her magical illustrations - I'd hang most of them on my wall!


The best thing about running something like this is meeting new designers and illustrators mostly on Instagram using the hashtag #adventchallenge2014 
Katherine Lenius is one of those people! Her style is so fun and fresh


I also saw Kayleen West was taking part via Instagram, she's a children's book author and illustrator from Australia. I'm loving her cute illustrations, especially the penguin!


Lindsay Buck (aka Slumbermonkey) is an Advent Challenge veteran, having taken part since the start! She's used the prompts to create a series of awesome patterns and illustrations. Lindsay also set up a pinterest board collating some of the designs from people taking part. 


It's great to see the challenge go global, Jessica Phillips is an illustrator from Canada. I love her characters and the colour palette gives her illustrations a really fresh festive feel. 


Christine Gardner has used the prompts to create a collection of patterns and illustrations that all look amazing together - I can imagine a whole range of greeting cards, wrapping paper and tags!


Bley Hack has also used the prompts to create a series of fabulous patterns. It's hard to choose but I think my favourite is the Nutcracker top right.


Other artists have picked a couple of prompts to illustrate. Suzanne Washington (Suzy Spellbound) illustrated this beautifully intricate tree decoration for Day 3. 


Anne Bomio from Switzerland created this striking pattern, I really love the cute illustrations and colours. 


Julie Hamilton (Artistically Afflicted) created this stunning illustration for Day 7 - Winter Wonderland. Julie was brilliant at spreading the word about the Advent Challenge, helping it to go truly global! Thanks so much Julie, it's been a massive success!


I can't wait to see what everyone ends of doing with all their new artwork. I'm hoping to see some on the shelves next year. Make sure you check out #adventchallenge on Instagram to view all the amazing work, by many artists. And if you have taken part and would like to be included in this or a future blogpost please email me one jpg. 

I'd like to thank all the artists who have taken part. It's honestly a joy to open up instagram each morning and see the new illustrations, just like opening an advent calendar each day! 


Wednesday, 1 October 2014

Latest logo designs...

I've had a busy few months with our lovely little baby daughter but managed to squeeze in some branding projects... here's a few logos I've been working on lately.

Logo for Original Cinema Posters. I loved designing this and working with the client closely. I'm going to write a full post about it soon.


Branding for Glister Plumbing and Heating. Craig wanted a professional fresh logo that represented both elements of the business. 


Branding for COAL Fitness. COAL stands for Change of a lifestyle. Liam also wanted to incorporate a diamond element to the design linking to the word COAL. 


Sunday, 17 August 2014

Summer of Design - Project #5 - Be a fashion designer

Week 5 and project 5 is a fun one you can go to town on! Missed a project? please check out Project 1 - 50 thingsProject 2 - Alphabet photographyProject 3 - Interior Design and Project 4 - designing wrapping paper in the links. I hope you are enjoying all the projects and it's keeping your big kids and little kids busy!


Project #5 - BE A FASHION DESIGNER

You will need - drawing materials such as pencils or pens and/or a computer programme like photoshop


Intro
Ever fancied designing your very own fashion collection? Well here's your chance!! There's a few avenues you could take as a fashion designer, you could design every aspect from the shape and design of the garments or you could be a textile designer and design the fabric / surface pattern. Some people specialise in designing hats or shoes.  


The project
In this project we will use the templates to design an outfit – either a dress, bag and shoes or a sportwear collection – tshirt, baseball cap and trainers.

Click to print off a larger version

Click to print off a larger version


RESEARCH
You'll start by doing some all important research. Either take a trip to the shops and start noting what outfits and patterns you like... or go online and check out shops such as Top Shop for latest trends. Pinterest is also a great place for inspiration. What designs do you like – geometric? Tribal? Animals?
What colours do you like? Start thinking of a colour palette for your collection. Check out design-seeds.com for some great palettes!

SKETCHING
Start sketching down ideas you like, or take photos of anything that inspires your imagination – the sky, stones, food – could be anything. And then start narrowing down where you see your collection heading. Start getting together a mood board.

DESIGNING
And then use the templates to design your clothing , either on the computer in a programme like photoshop or just sketch with pencils or pens. Maybe you'll design 3 outfits that could all mix and match together. Use the templates however many times you need to design your perfect outfit.

Example outfit using photoshop


What are we learning here...
This project helps you start thinking about how collections work – a group of work that all looks like it belongs together but is different too. Surface pattern designers do this a lot – they might design 10-12 patterns that form part of a collection.  

Liked this project?
Design more of your collection or try using the other template and creating something completely different.

Sportswear designs with felt tip pens


Modifications for younger children
My son has only just started drawing inside the lines of colouring books – I'm not sure he's up for designing his first fashion collection yet but encourage them to think of colours that work well together. You could also get geometric sticking shapes to get younger kids to use and help start making patterns.

My son 'designing' his outfit!


Keep updated
If you would like to be kept updated with the projects please like my facebook page and I'll be posting reminders there. I will also let you know what materials might be needed for the following weeks project.
Also if you would like to send me any of your projects to feature on my blog please email them to me hello@fayebrowndesigns.co.uk with the subject SUMMER OF DESIGN


Sunday, 10 August 2014

Summer of Design - Project #4 - Designing gift wrap

Can you believe we are already at week 4 of Summer of Design! You can pick up these projects at any time so please check out Project 1 - 50 things, Project 2 - Alphabet photography and Project 3 - Interior Design in the links. I hope you are enjoying all the projects and it's keeping your big kids and little kids busy!


Project #4 - DESIGNING GIFT WRAP

You will need - some coloured paper (or maybe just white) and some coloured pens / pencils or crayons


Intro
This is a very easy project that any age kid can have fun with... the older the kid, the more advanced the designs might be.
Designing for gift wrap, greeting cards, gift bags, tags etc is a massive market within the design world. Next time you go into your local card shop just take note of all the different styles and designs. Maybe take photos of which designs catch your eye and write down why you like them. 

The project
This project is super easy... but to start I want you to decide who you will design this wrapping paper for. Is it for a girl or boy or unisex? Is it for a child, baby, your nan? Is it for a birthday, christmas or a new baby? write your own brief. And once you have a good idea who this paper will be for you can start designing.
Pick a coloured piece of paper and a matching colour pen or pencil or crayon and start designing! This creates a nice effect. Think about your pattern, will it have any text elements? will it be abstract shapes or objects we know like boats and balloons? Or how about using this to tick off one of your 50 from the first project?


What are we learning here...
With this project we are starting to look at the world of surface pattern design - so much of our everyday lives are surrounded with surface pattern from wallpaper, bedding, biscuit tins, clothes and stationery. Encourage your kids to start taking notice of all the design around us everyday... what items would they like to design for?
This is also a good project for starting to think about a target market. A design for a 5 year old boy will be much different to a 30 year old female (probably!!).


Liked this project?
Why not pick another colour and try to create a range of wrapping paper... or design some matching
tags?


Modifications for younger children
This is a great one for younger children..! Encourage them to scribble and make marks. Here's something my 3 year old drew when we were doing this project...


Keep updated
If you would like to be kept updated with the projects please like my facebook page and I'll be posting reminders there. I will also let you know what materials might be needed for the following weeks project.
Also if you would like to send me any of your projects to feature on my blog please email them to me hello@fayebrowndesigns.co.uk with the subject SUMMER OF DESIGN


Friday, 1 August 2014

Summer of Design - Project #3 - Interior Design

In the third project of Summer of Design we will be looking at Interior Design! Haven't you always wanted to redesign your bedroom? well now is your chance... 
If you are new to Summer of Design why not take a look at Project 1 and Project 2.


Project #3 - INTERIOR DESIGN


You will need - if you have access to a computer you can do a lot of this online. But if you find yourselves at a hardware store pick up paint swatches / catalogues and wall paper samples - anything you can get your hands on!

Intro
Designers come in all shapes and forms and interior design is another big industry and career. This week you are going to 'pitch' an idea to your parents / grandparents or friends. They will be your client.  

The project
Pick a room in your house or a friends house that you would like to redesign. It might be your own bedroom or might be the kitchen or the bathroom. Your job is to come up with some ideas and designs for that room and then pitch them to your parents / friends. We will break this project down into steps – all these steps are part of a process you would take with most design projects.  

Step 1 – Create the brief
Once you've decided on a room answer the questions below. You may need to ask your 'client' these questions.  
* What's wrong with it at the moment?
* How would you like to feel in this room? (example - homely, warm, playful, fun, fresh, calm, hungry, cool)
* What colours do you think would help make the room feel this?
* What furniture is needed in this room? 
* How would you accessorise this room? curtains? cushions? wall art?
* Any other thoughts or ideas that come to mind?  


Step 2 – Moodboard and ideas
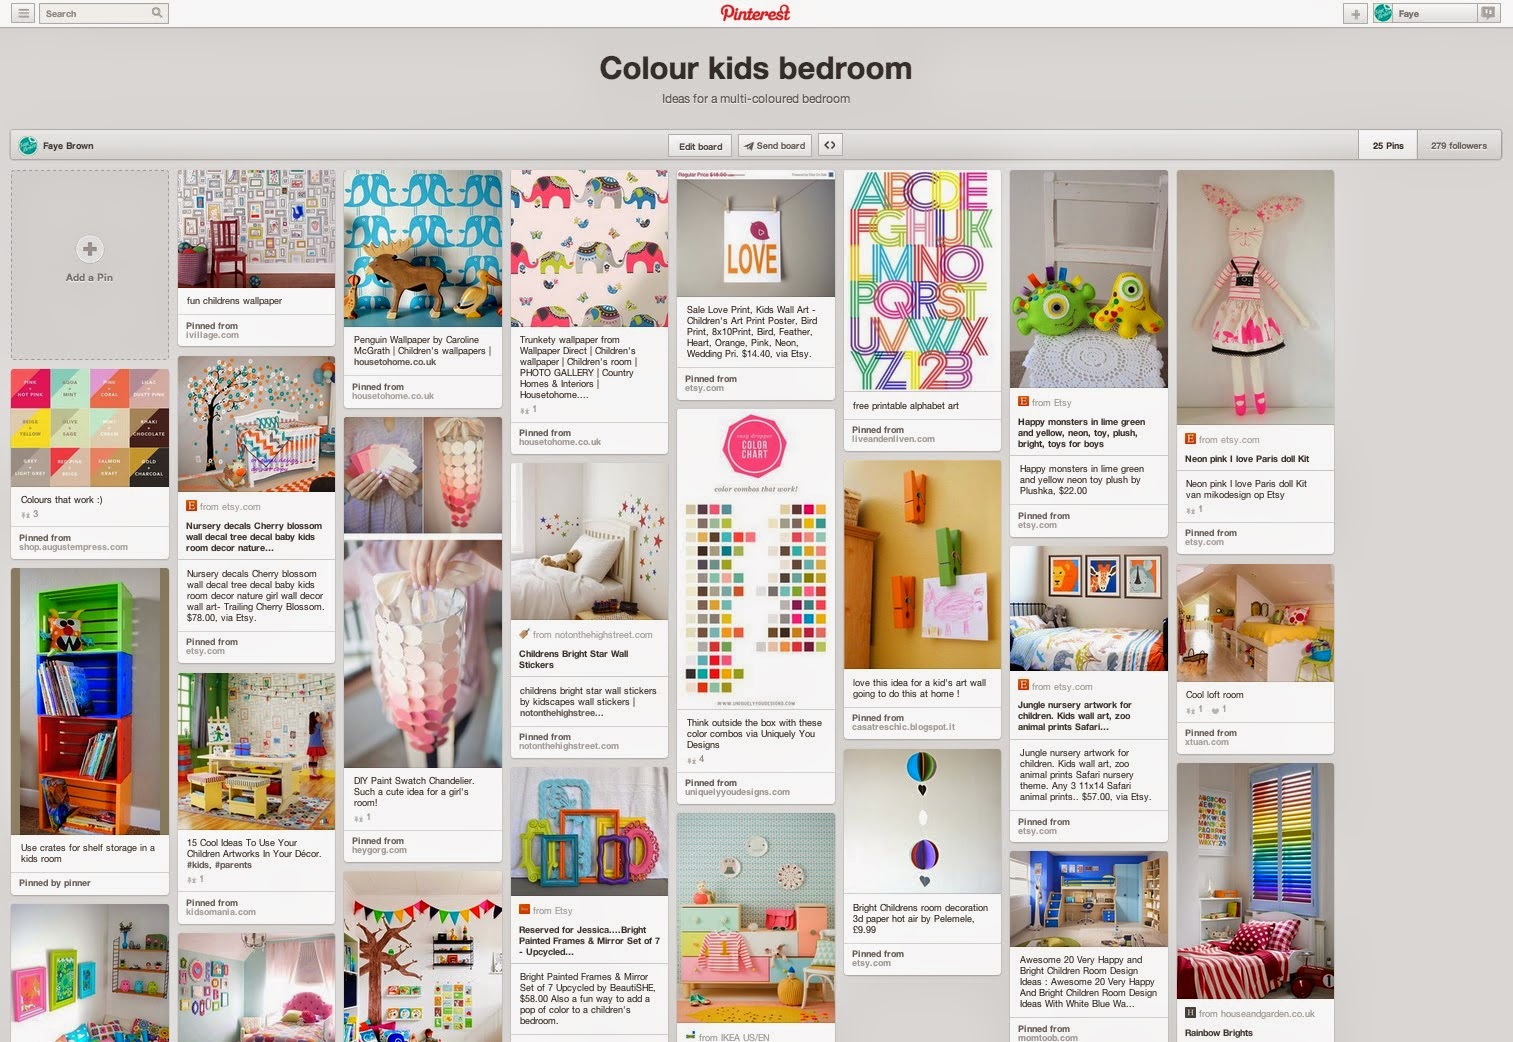
Look on the internet and in magazines and start collating the ideas that grab you. Think about what colours your room should be. What furniture would work well? A great website for finding inspiration and creating online moodboards is www.pinterest.com
It's good to have an idea of what you are looking for before searching. So if you search 'bathroom' you will get all sorts of bathrooms. If you search 'monochrome bathroom' you will have narrowed down your search to a more specific requirement. Don't pin everything you see!! only what you really like or feel could work within your project. Also don't be too narrow in your search - so for monochrome bathroom you might also search - monochrome art, monochrome patterns, black and white photography etc. 


Start collecting physical items too, next time you go in a hardware shop pick up paint swatches and wallpaper samples – and the catalogues or magazines for accessories like cushions, pictures, vases etc. Or take photos of items you like in shops. 

Create either a digital moodboard like the ones above or create a physical one like the one below. This approach is especially better for younger children. Encourage them to cut things out, placing patterns and colours next to each other to see what works.

Physical mood board for a baby girls nursery. 
As you can see these don't have to be works of art. You can help younger children explore colours. In this example it's quite obvious the dark grey jars against the soft pink and lilac tones - talk to your younger children when creating mood boards like this and ask them what colours they think go well together.

If you are finding yourselves getting stuck for colour inspiration - check out this fabulous website Design Seeds.


Step 3 – Time to pitch
Set a time for your pitch meeting, sit down and pitch your ideas and moodboards to present to your 'client'. You need to convince them this room needs this makeover. Take a note book and write down thoughts that were discussed in your meeting. Ask your client for feedback, maybe you can go and add to your ideas or change certain things. 


Step 4 – Budget
In a real life design project you would probably have been given a budget upfront to work to... but if you get to the point where your client is considering the make over for real, it's a really good exercise to work out a budget – how much does paint cost? How much wallpaper will you need? This is particularly good for older children to work out the maths behind it all. This is usually an area most people assume designers are not great at, but you'd be surprised how much us designers use maths!

And if your client decides to go for it – great!! make sure you help in the process as much as possible and get your hands dirty. 


What are we learning here?
This is mostly a fun project to get you excited about interior design and colour but there's a lot to learn within this brief... from the importance of mood boards, how to present to a client and how to budget. I've used all these skills in almost every design project I've worked on from designing a logo to title sequences.
For those of you who would like to know more about colour theory you'll find some good links here on my Colour Theory board. And for some inspiration on colour combination you can also look here.


Liked this project?
There are lots more rooms! or if you are looking for a mini project to add on to this one, why not think about designing a print to hang up in the new room? There's a few examples in the pinterest mood boards - have a go at designing your own wall art! Maybe you could look at incorporate something from Project 1 or Project 2 into a print...


Modifications for younger children...
This is quite a grown up project. For younger children approach this project as a fun way to explore colour and pattern. By placing cut out paper next to each other. Another fun option is to create some art for their bedroom. My son and I had fun recently cutting up all his old Thomas the Tank engine magazines and making a Thomas collage for his room (this is a great way of getting rid of all the magazines too!) 


Keep updated
If you would like to be kept updated with the projects please like my facebook page and I'll be posting reminders there. I will also let you know what materials might be needed for the following weeks project.
Also if you would like to send me any of your projects to feature on my blog please email them to me hello@fayebrowndesigns.co.uk with the subject SUMMER OF DESIGN

Sunday, 27 July 2014

Summer of Design - Project #2 - Photograph the alphabet

In the second of our Summer of Design projects we take a look at photography and typography. If you missed the first project take a look here.


Project #2 - PHOTOGRAPH THE ALPHABET


You will need - a camera, any camera - it doesn't have to be special!

Intro
Photography plays a big part in the designers life. Photography is often used to help communicate a mood and emotion. We can also use photography to help us record ideas and capture inspiration thought out our daily lives. So with this project we combine photography with typography. Typography is the study of letters, words and arranging them. We could go into this in much more depth but let's start of in simple terms... 

The project
As you go about your daily lives this week take a camera with you and try to capture every letter of the alphabet. Mix this up with making your own letters using various items you come across from stones, twigs or coins. Get your friends involved too!
Collate all your photos of letters and if you can, print them out and display them on a cork board or make a poster of the whole alphabet.


What are we learning here?
This project not only helps you notice everything around you, it also gives you a good introduction into letterforms and typography. You'll start to notice all the different typefaces and maybe start to think about how each typeface has it's own personality. 

Liked this project?
Why don't you try numbers next or extra symbols like ampersands(&) and pound signs? Another good photography project is to pick a colour and start snapping everything you see with that colour. This will come in useful for the next project #3 Interior Design.
If you have an interest to learn more about typography then you can get 40% off my Art of Typography Skillshare course by clicking on this link.

Modifications for younger children...
My son is almost 3 and doesn't know all the letters yet so this might be a tricky one for the really young children. What you can do is use it as an exercise to learn the letters... maybe focus on 1 or 2 at a time. One morning maybe you could set the challenge to find things around you that are S shaped, and take photos of them... for example. Or how about potato printing?! Or you can set a letter and try creating them out of different objects. My son loved helping me recently on the button alphabet... 


Keep updated
If you would like to be kept updated with the projects please like my facebook page and I'll be posting reminders there. I will also let you know what materials might be needed for the following weeks project.
Also if you would like to send me any of your projects to feature on my blog please email them to me hello@fayebrowndesigns.co.uk with the subject SUMMER OF DESIGN


Sunday, 20 July 2014

Summer of Design - Project #1 - 50 things

Firstly, a quick introduction to the Summer of Design! Over the next 6 weeks I'll be posting a design related project each week which will keep your big kids and little kids nice and busy and get their creative juices flowing... so even on a rainy day they can't complain about being bored!
At the end of the 6 weeks your kids will have worked on a range of fun projects that will have hopefully ignited a passion for design... whatever their age!


Project #1 - 50 THINGS

You will need - mixed media... whatever you can get your hands on!

Intro
This is a great project to get those creative juices flowing and to open your mind. I was set a similar project to this over a summer before starting an Art Foundation course and I really enjoyed it. I was 18, you are never too old for these projects!
I had to illustrate the sun in 100 different ways using any materials I wanted – pencils, paint, plasticine, photography, computer programmes – there were no limitations.
This is a great project to start at the beginning of the holidays and keep coming back to, some of the other projects might even make up some of the solutions.

The project
Pick one of the subjects on the image below and find 50 different ways to illustrate it – using whatever materials you like. If none of the words grab you, decide on something else. Or if you can't decide, print out all the words and pick one out of a hat. (double click on the image to see it bigger to print)
There are no right or wrong solutions – just have lots of fun with it and try to use as many different materials as you can. You could record all your ideas on a big A2 board or maybe photograph each solution instead.


What are we learning here...

Whilst the projects are all set to be fun there is also an element of learning and how this would help in the real world of designing. This is more relevant for older kids and teenagers who are really thinking about pursuing a career in design. What this project reveals it that in design there is hardly ever one correct solution to a brief. Let's say there was a brief to design a company logo but it must include a reference to a fish... this project helps you realise there are so many ways to draw or represent a fish (for example!) You will also find that the further down the 50 you get, the more and more you are thinking creatively... you are forced to start thinking of what new ways you could illustrate an apple or a sun. This boosts the thought processes and creative thinking.


Liked this project?
Why not pick another subject and try doing 50 more?!

(At the end of each project I'll make a suggestion for how you can carry on creating if you really enjoyed it)


Modifications for younger children
Occasionally some projects might need to be modified for younger children - see how you get on. My suggestion for children under 6 or 7 would be work with them and help them come up with 10 different ideas for say 5 of the subjects. Encourage them to use a mix of materials - you could even make a robot out of cardboard boxes! Or maybe bake heart shaped biscuits!


Keep updated
If you would like to be kept updated with the projects please like my facebook page and I'll be posting reminders there. I will also let you know what materials might be needed for the following weeks project (next week - a camera is needed - any camera!)
Also if you would like to send me any of your projects to feature on my blog please email them to me hello@fayebrowndesigns.co.uk with the subject SUMMER OF DESIGN

Wednesday, 16 July 2014

Summer of Design


Every week during the summer holidays I'll be posting up a design related project to keep your kiddos busy and get their creativity side buzzing with ideas... Each project will be aimed at kids of all ages (even adults!) Obviously younger kids will approach it differently to teenagers and may need more parental supervision. 
The projects will be fun and open ended so there's no excuse to ever be bored!


Sunday, 6 July 2014

Gifted too... Day 2 - Alphabet


The fabulous Tigerprinters set a Gifted challenge each year for recent graduates. One of my friends suggested we could play along with some of the themes so here's my Alphabet! 
We were on holiday when I did this, is was really great to step away from the computer and just use paper to create the letters only using simple cuts and folds. 

It's been a while...

Hello! I've just noticed my last blog post was 27th March which was quite literally a life time ago now... Our little baby girl arrived on the 1st April. Despite a trip back into hospital for 8 days when she was 7 weeks she's now doing really well and she's a little cutie.

So I've been a little quiet on the work front but this month I'm taking part in a fun challenge called Gifted Too..! Which is basically playing alongside the wonderful Tigerprinters Gifted challenge (as theirs is just for recent graduates!) 

I'll be posting the themes I complete over the next month...

Thursday, 27 March 2014

Teaching an online course - top tips - Part 3

In the third and final part of my top tips for teaching an online course we look at what to do once your course is live and running. If you missed Parts 1 and Parts 2 just click on the links. (It's a good idea to start at the beginning!)
We've covered what your course might be about, how to structure the course, how to deliver the course and how to price it. But what do you do once the course is up - how do you deal with criticism, how can you improve your course for the future and how do you get people to stay interested or stay in touch? let's take a look... you'll be pleased to know this is a little shorter than the previous 2 posts!


8 - DEALING WITH FEEDBACK
Your course will be open to receiving feedback whether publicly or maybe someone will pop you a mail. I've received some lovely reviews of my course but then on one dark rainy day I got a thumbs down! I have to say, I was a bit gutted. I previously had a 100% positive response record (thumbs up!). The thumbs down person didn't leave a comment and their profile was private so I couldn't contact them to ask them why. I really genuinely wanted to know what they didn't like - so I in turn could learn from it and either make it right or carry the thought onto another course. I don't mind receiving constructive criticism, as a designer you face it quite regularly... but you have to be able to take it on the chin. So be prepared for the good and bad. You can't please everyone all of the time. Ask your students for feedback, if they all come back saying one particular thing you know that's something you need to improve on.


9 - BEING YOUR OWN CRITIC
Despite my disappointment receiving a thumbs down, I know my course wasn't perfect and there's a lot I'd do differently now. I'd probably make it shorter and more focused, I'd try to record the videos better quality. Even if you get the best reviews in the world always strive to think of ways to make the course or the way you teach better or more engaging.


10 - KEEPING IT FRESH & KEEPING IN TOUCH
So your course has been running, you've got students and all is going well... but don't be complacent. How can you keep your course fresh and keep getting people to sign up to it? Can you offer competitions and giveaways? Could you include a new video or an update? And how can you stay in touch with your students to notify them of any new courses or updates? maybe it's a newsletter or facebook page. Keep in touch with your students best you can... build on those relationships. 3 years ago I thought having online friends was a bit strange but since taking part in some courses I've made many online friends who have the same interests as me, can answer questions I have about the industry and can share in frustrations with clients and general work. Build your online network!
Skillshare is good as you can keep in touch with your students, set new challenges with prizes or direct them over to a facebook page. We now have over 200 students in The Art of Typography facebook page which is a great way to stay in touch and stay engaged.
What other ways can you reach new students? Use your testimonials as a marketing tool and use social media - twitter, instagram etc. Have your students written a blog post about the course? don't be shy... share it!


Other useful links:
Lynda.com for tutorial inspiration!


Phew... there we go - your 10 top tips! Are you ready to get pen to paper and start brainstorming your online course. Please add any comments or questions below. And do let me know if you run a course. If you decide to use Skillshare as your platform you could be very kind and use my referral link, be sure to let me know your course so I can sign up to your course! And if anyone is interested in taking my course The Art of Typography, you can grab 30% off with this link and use the code BLOGPOST. Or maybe you'd like to try out the Skillshare membership option where you can access loads of courses and see how other people do it.

I'm currently thinking of a new course, I've got the bug! To keep up to date with any updates please like my facebook page.

Thank you for reading and getting all the way to the end..!